For today's tutorial I thought I would try something a little different. I started with two different colours of pencil cups (clear and black) and made three completely different projects.
What I started with


A girls hair brush holder

And a pop art inspired candle holder.


And what I created
A masculine pen holder

A girls hair brush holder

And a pop art inspired candle holder.

For the pen holder you will need
-A black pencil cup.
-Cotton twine.
-An offcut of leather (I used bonded leather)
-A hot glue gun.
Start by gluing the end of the string at an angle to the top, then firmly wind and glue along the top edge. You will need to glue the first couple of layers well to keep them in place.

As you get further down, you only need to occasionally tack the string with the glue to keep it in place.

Keep gluing until you reach the bottom, then glue down the end.

Cut a strip of leather just longer than the width of the cup. Glue in place along the top of the cup, with one third below the rim and two thirds above. Glue a bit at a time.

Just before you get to the end, fold in the short end of the leather and glue under, then complete.

A bit at a time, glue the overhanging leather to the inside of the cup.

When this is all glued down, you are done.

For the hair brush holder you will need
-One black cup.
-Silver glitter fake leaves.
-Feathers in pink and black.
-Pearlesque beads.
Start by gluing three of the leaves to the cup, partially overhanging the top.

Glue several feathers overlapping each other, starting from the top and working down. Cover the end with a couple of pearlesque beads, and you are done. That simple :)


For the candle holder you will need
-A clear cup.
-Acrylic paint (in this case, black).
-Sticky tape.
-A small water colour (pointed tip) paint brush.
-Plastic friendly glue. I use weld bond, from my local hardware shop.
-A battery powered tea light candle.
-A picture of your choice digitally altered to be duotone (pop art look). I use a program called PhotoFiltre to do this, which is free for personal use.
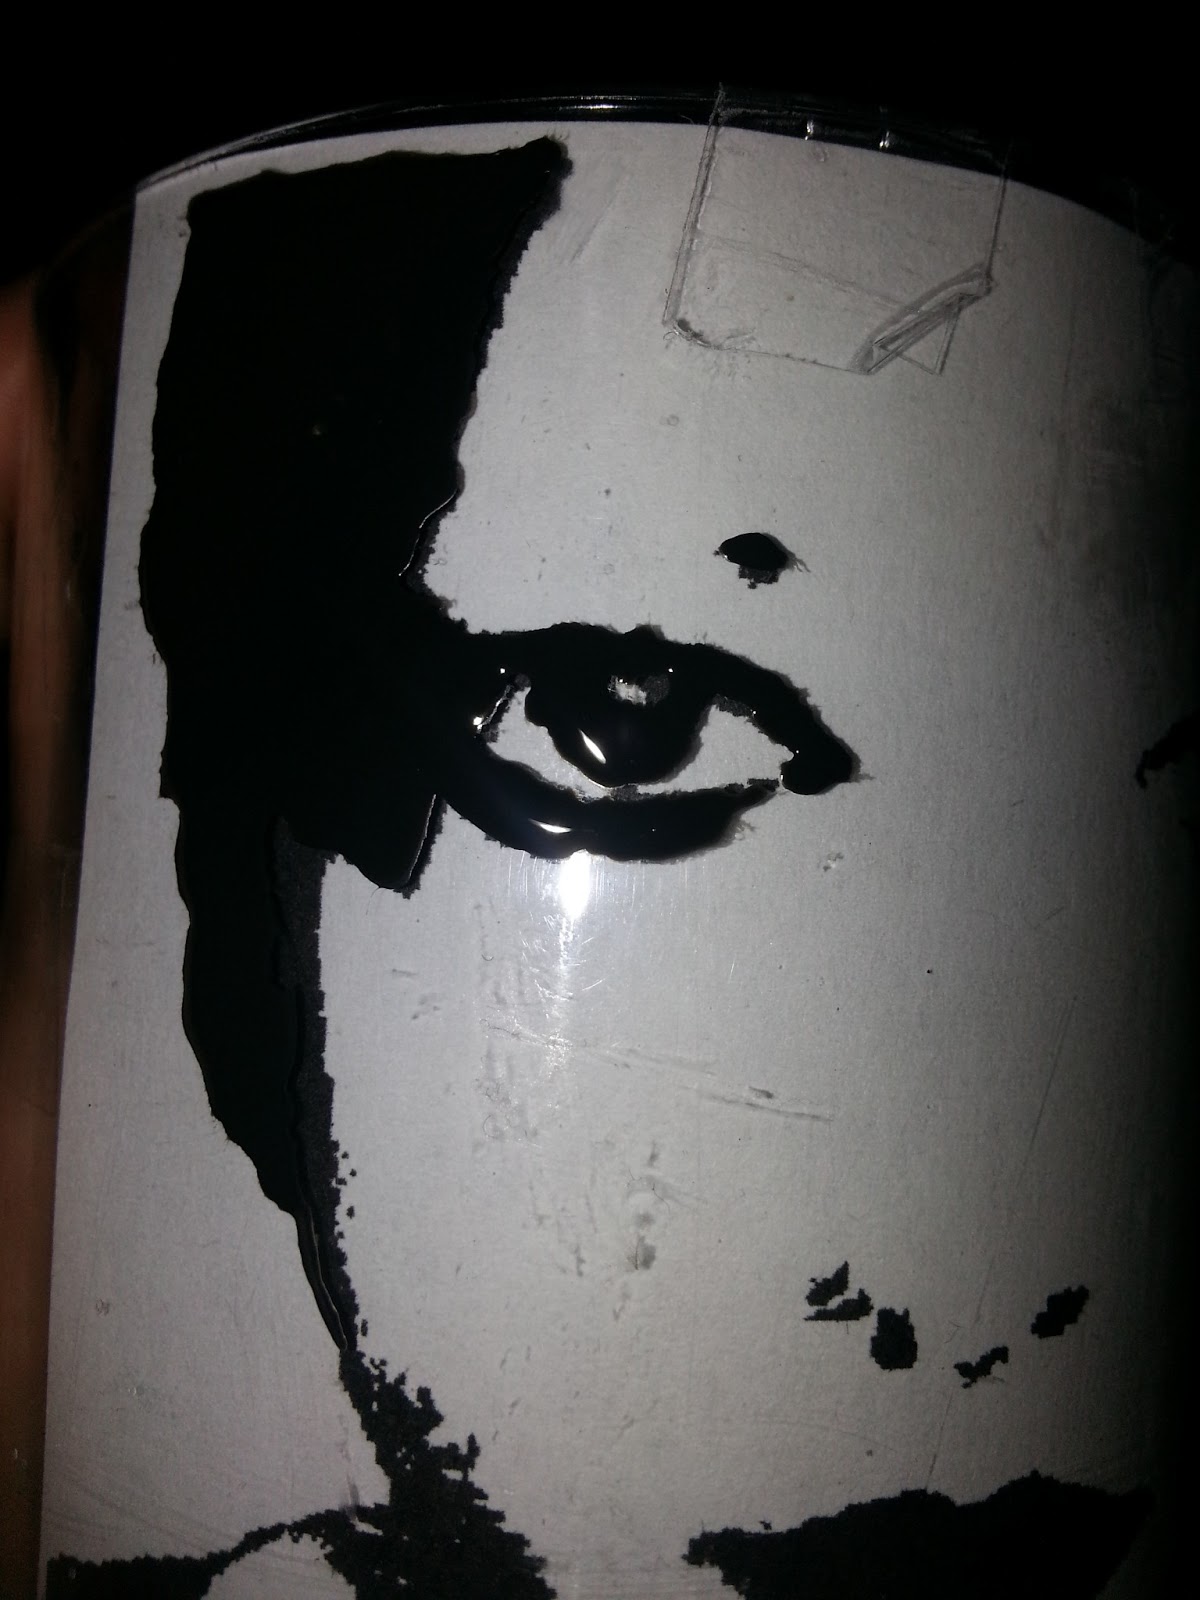
Start by using sticky tape to attach your picture to the inside of your cup.

To make the paint you will use, mix the acrylic paint and the glue in a 50/50 ratio.
Begin by painting the picture on the outside of your cup, using your picture inside as a template. You will need to paint this on relatively thickly so it does not 'creep back' at the edges, which means you will need to paint a few cm at a time an allow it to dry before moving on to avoid drips. When it is wet it will look shiny like in the photo below. When it is dry it will look more flat and matte.
When you have painted the entire picture, remove the paper from the inside. If there are any parts that need more paint, add it now.

When fully dry, insert a battery powered candle in to the cup and enjoy.
A final note on safety. NEVER put a real candle in a plastic cup. If you want to make this project suitable for real candles, use a glass cup/jar.
Happy crafting :)
No comments:
Post a Comment